Presto Player – 如何設定連結 BunnyNet Stream 影片託管
上市兩個月 Presto Player 就發布了重大功能更新,將 Bunny Stream 的功能整合了進來。
在 Presto Player 官方網站發布的 Presto Player 與 Bunny Stream 的比較文章中詳細的說明了透過 Presto Player 播放託管在 Bunny Stream 的影片,除了效能可以獲得大幅提升之外,還能做到許多 Bunny Stream 無法提供的功能 (共 22 點),在 Bunny Stream 新推出之際,相信這可以解開大家對於為什麼還需要使用 Presto Player 的疑惑。
為了讓大家更清楚知道如何透過 Presto Player 連結並使用 BunnyNet Stream,大家可以參考以下說明步驟,可以更清楚了解 Presto Player 啟用 Bunny Stream 影片託管之後,透過 Presto Player 上傳到 Bunny Stream 的影片,在 Presto Player 外掛與 Bunny Stream 雲端間的關係。
在開始之前,記得先跟著官方網站設定說明中的第 1、2、4 步驟,先將 BunnyNet 的 API KEY 設定好。
Presto Player – Media Hub
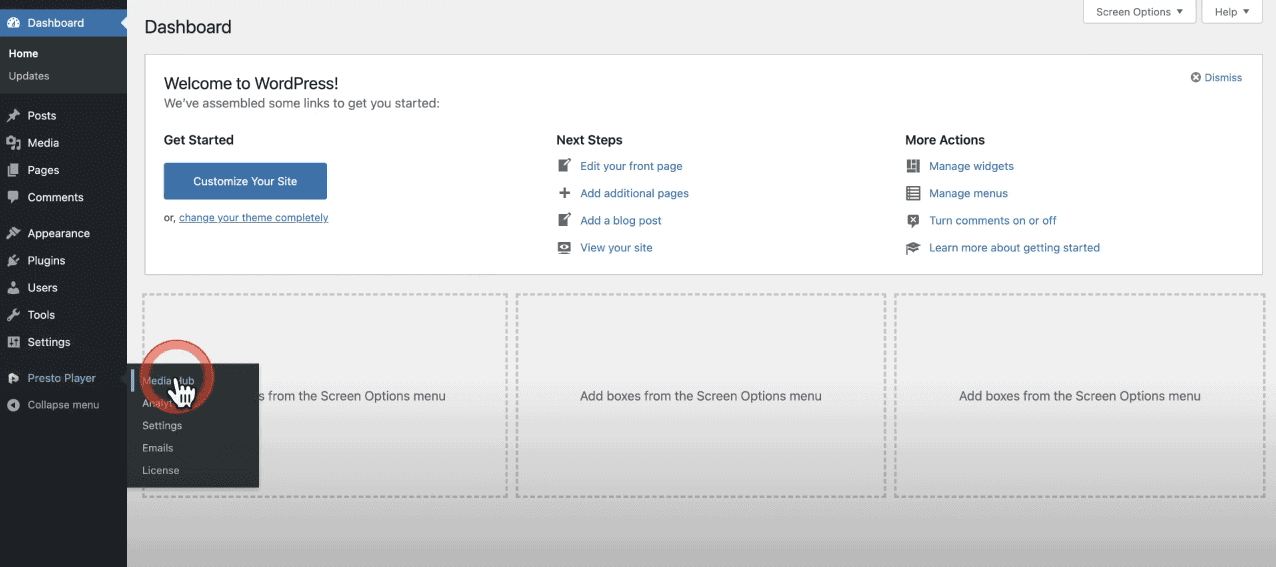
首先,從 Presto Player 外掛點選 Media Hub 進入影片、媒體管理頁面。
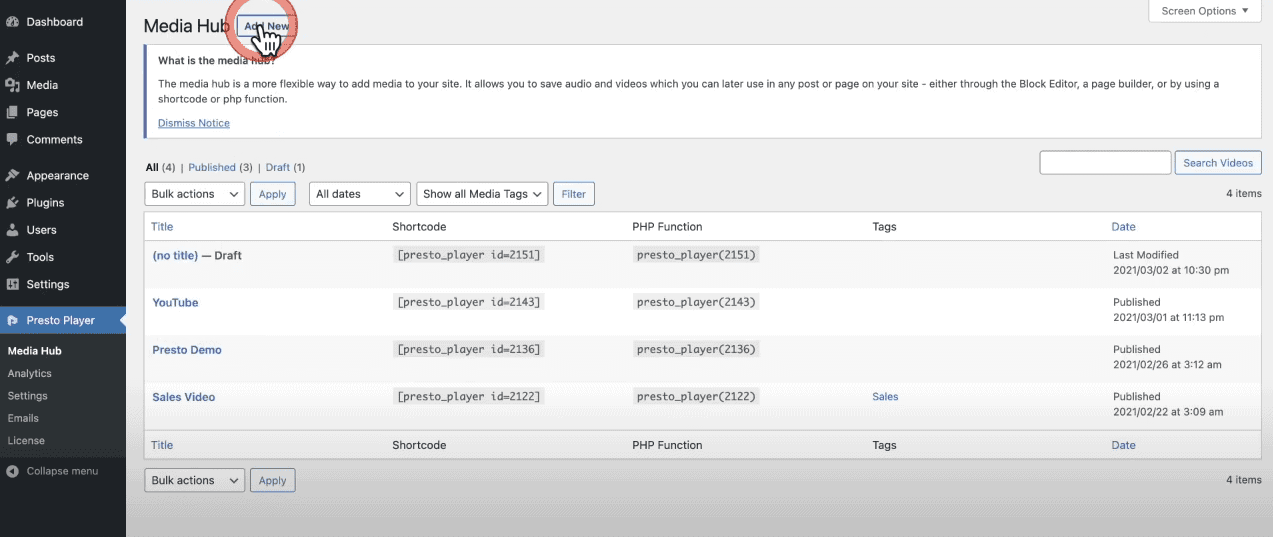
進入管理頁面後,點選新增影片。
影片來源 – BunnyNet
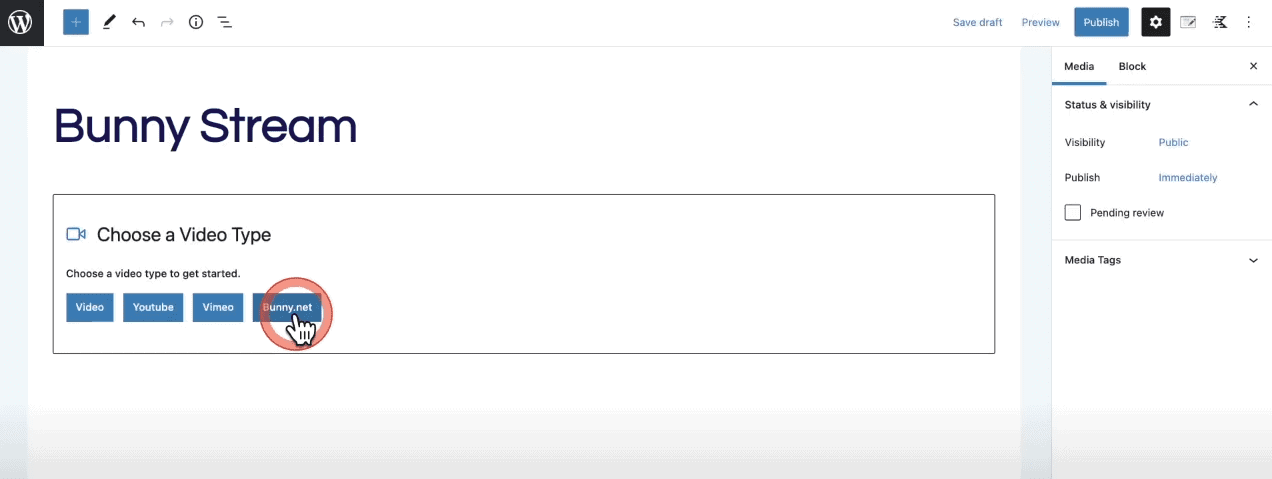
來到影片區塊 Video Block 的編輯頁面,完成命名後,點選影片來源為 BunnyNet。
啟用 Bunny Stream
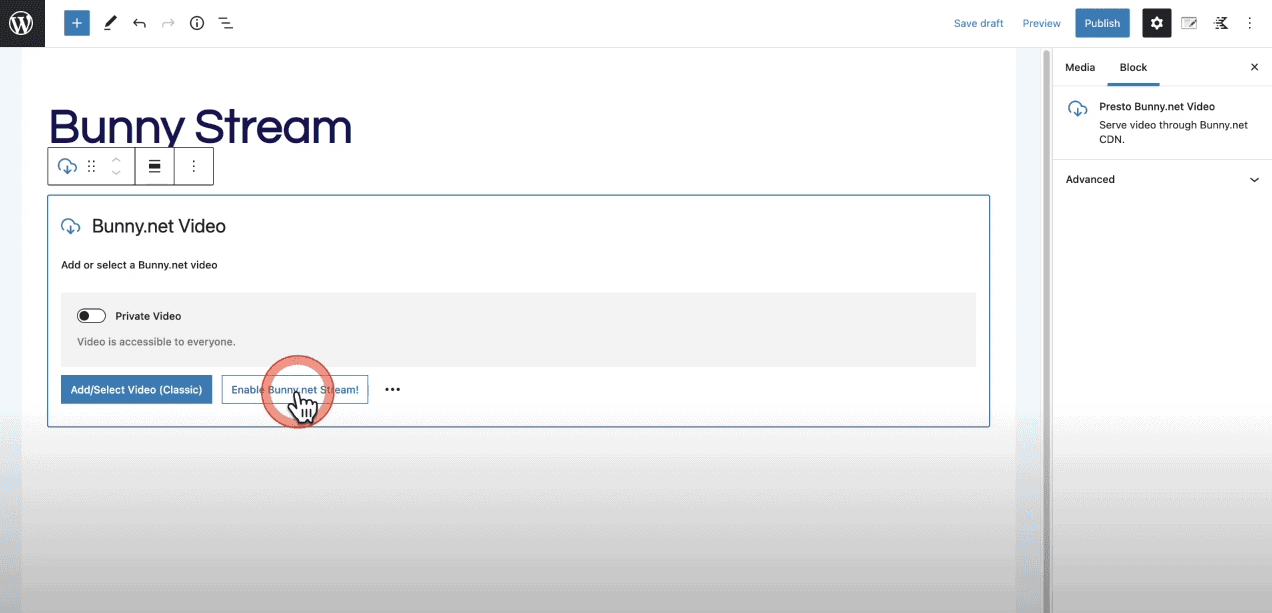
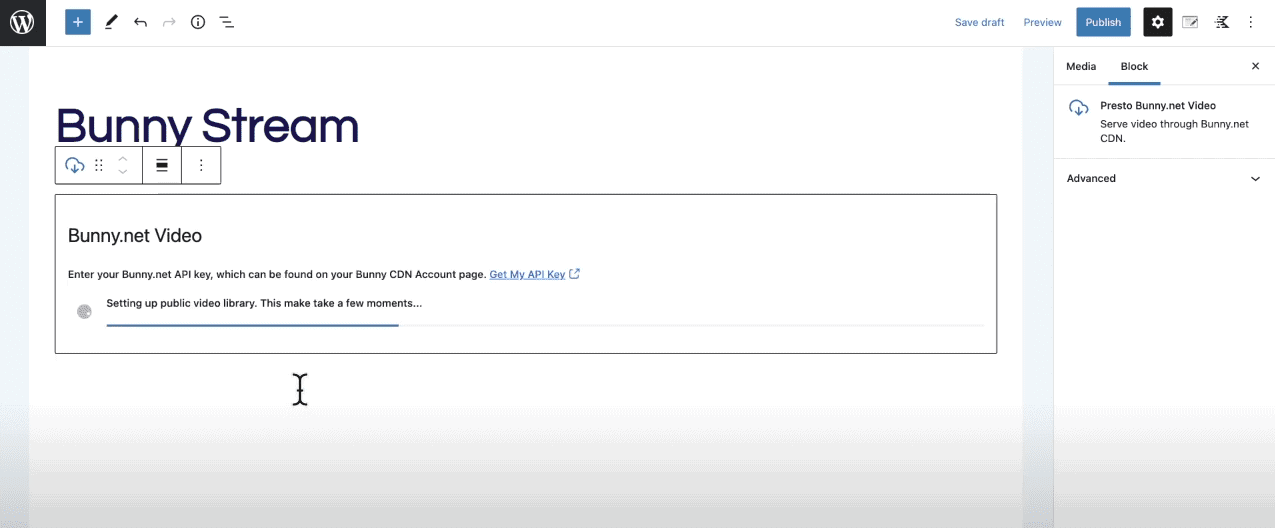
接著點選 Enable BunnyNet Stream! 啟用與 Bunny Stream 的連結。
等候與 Bunny Stream 的溝通與設定完成。
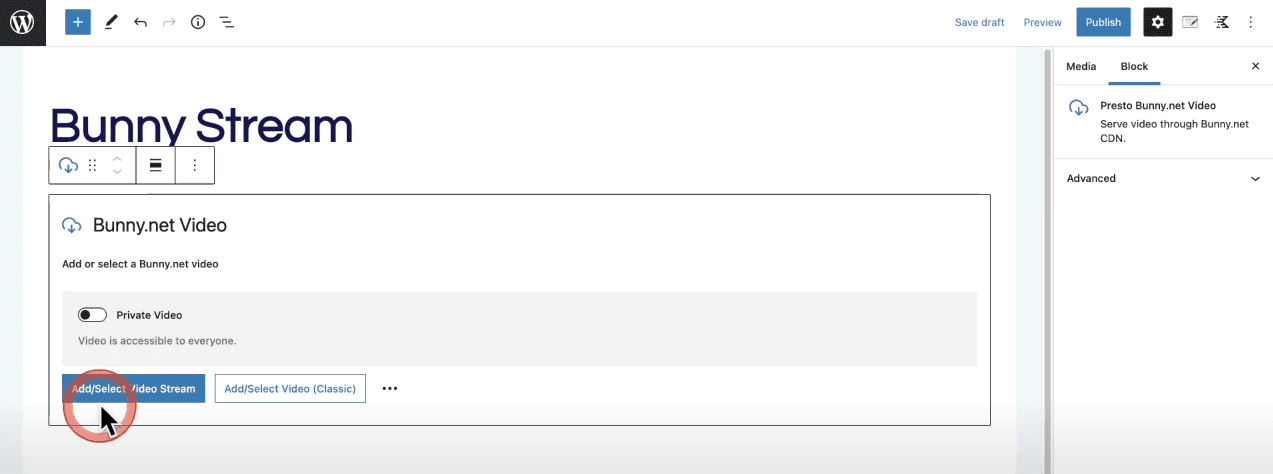
完成之後即可新增影片至 Bunny Stream 的雲端空間了!
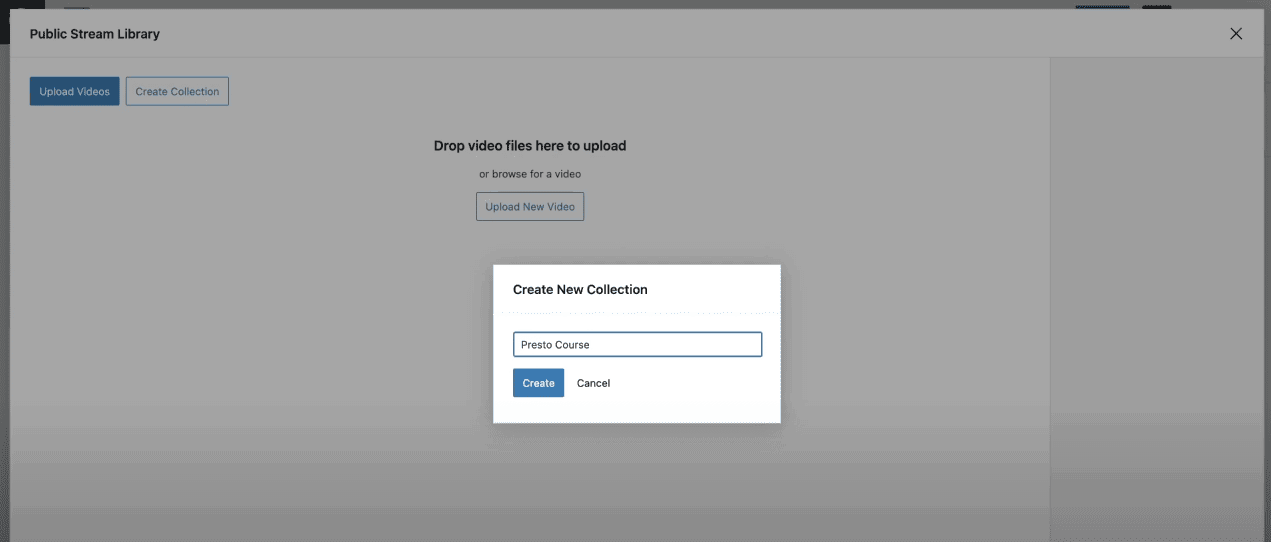
新增 Collection
上傳影片之前,我們先設定 Collection,可以方便未來不同影片目的、類型的管理。這與電腦中的目錄 Folder 用途相同。
新增影片至 Bunny Stream
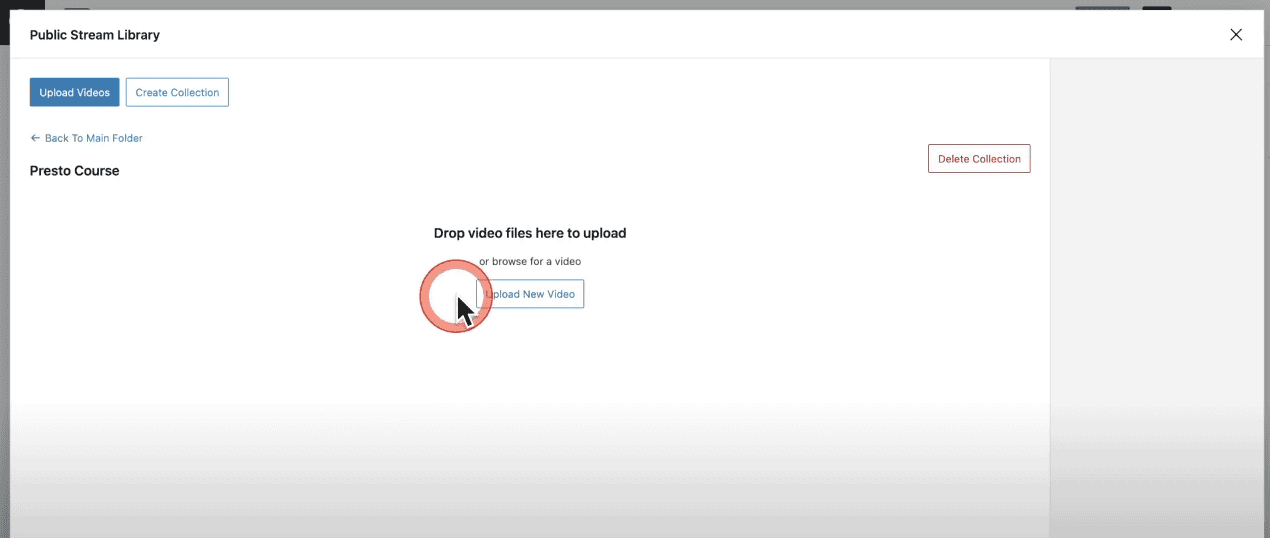
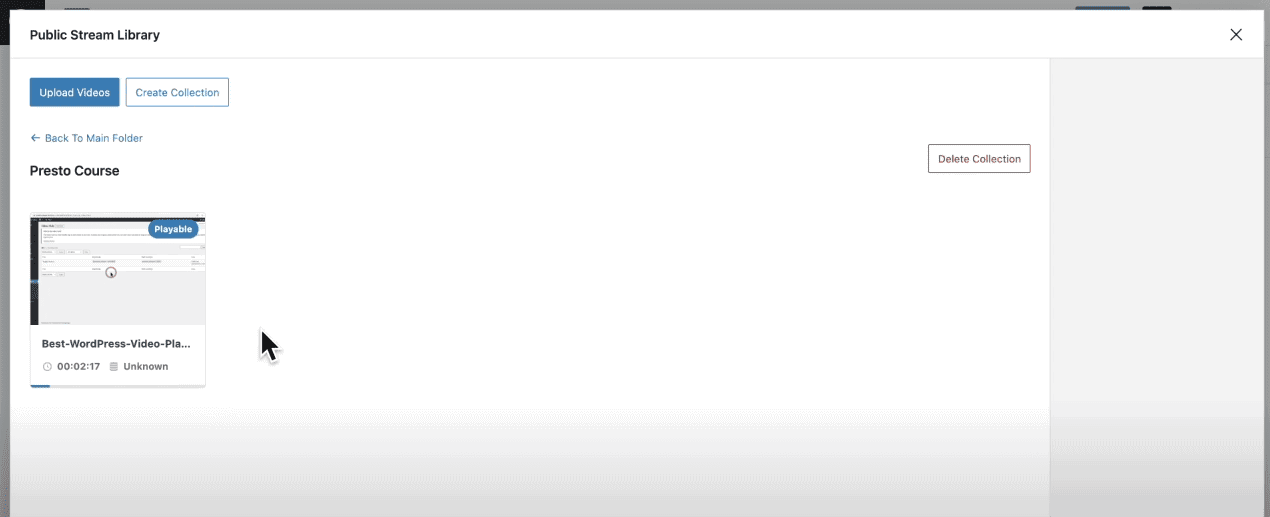
接著,上傳影片到選定的 Collection 目錄下。
上傳影片檔需要等候一段時間,當 Playable 標籤出現時,代表基本解析度的影片檔已經上傳完畢,這時候影片的時間長度也可以正常顯示,使用者也可以開始使用 Presto Player 的其他功能美化、最佳化影片播放器的功能。
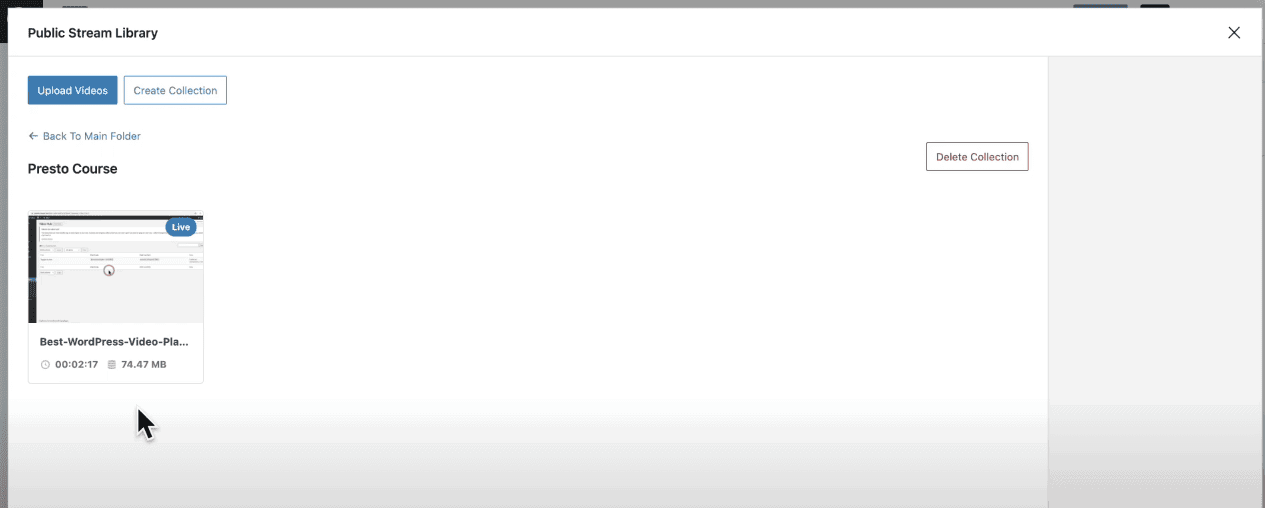
當檔案下方的進度條完成時,代表 Bunny Stream 已經完成不同解析度影片檔案的轉檔了。並且會顯示所有檔案的合計大小。
以這個影片為例,原始檔案 (單一解析度) 大小約為 280 MB,經過 Bunny Stream 轉檔為 5 種不同尺寸解析度後的合計大小只有不到 75MB。
Presto Player – Settings 設定
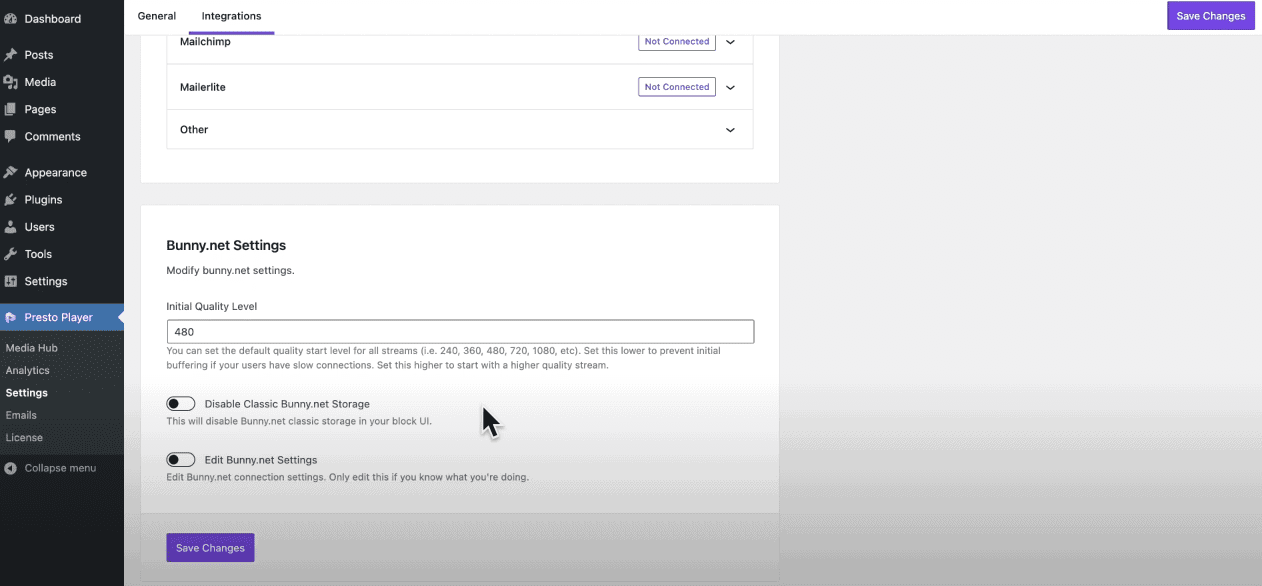
在 Presto Player 的設定頁面,可以設定:
- Initial Quality Level
預設的影片解析度 – 可以減少影片讀取的初始緩衝。 - Disable Classic Bunny.net Storage
不使用 Bunny Storage 的託管 – 對於只想使用 Stream 功能的人來說,可以讓 Video Block 更為清爽。 - Edit Bunny.net Settings
是否可編輯 BunnyNet 的連線設定。
Bunny Stream
Video Libraries
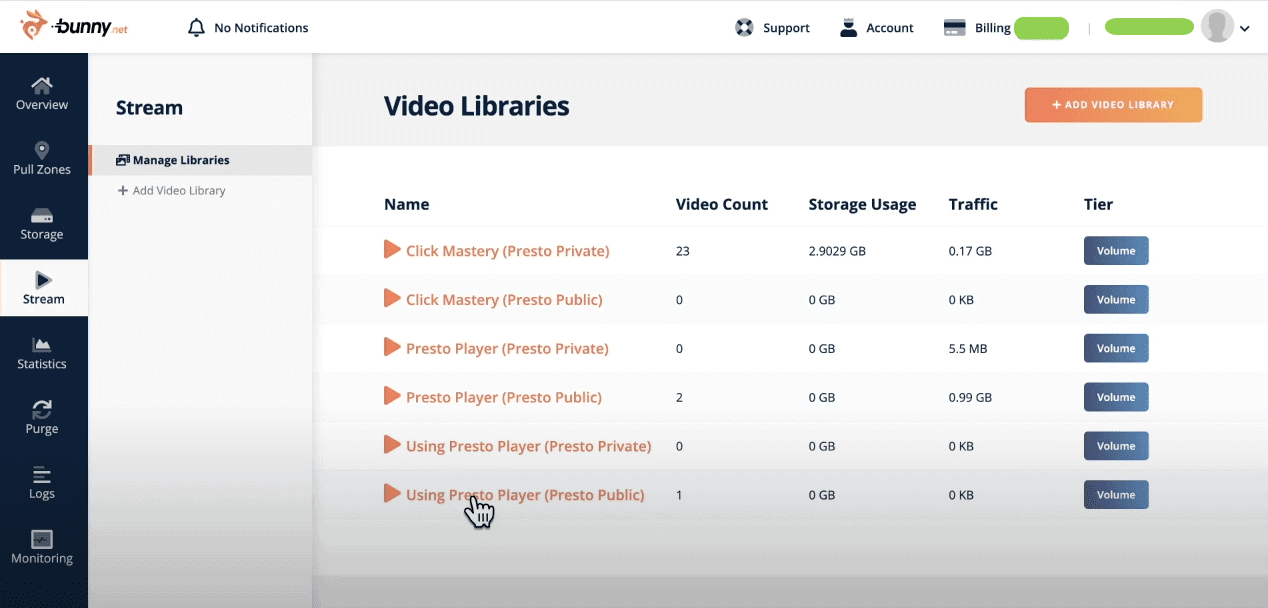
上傳完成後就能在 BunnyNet > Stream > Video Libraries 下找到相關路徑,要記得如果上傳檔案時選的是 Private Video 影片就會存放在 Private 的 Library 下。
Collection
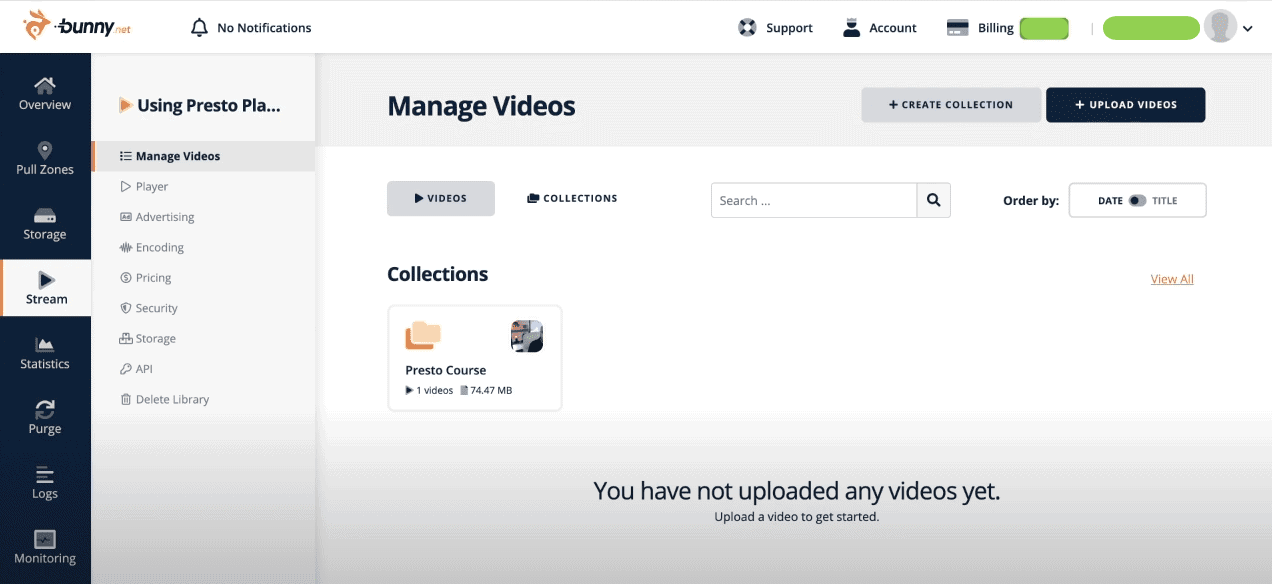
進入對應的 Library 之後,就能看到之前在 Presto Player 外掛建立的 Collection 目錄了。
文章回顧 – 「Presto Player Review 最佳的線上影片播放解決方案」。
文章回顧 – 「BunnyNet CDN 免費額度! 來玩 Presto Player 囉!」。
Presto Player 終生授權方案
↓取得一般方案20%、LTD方案$100折扣↓

